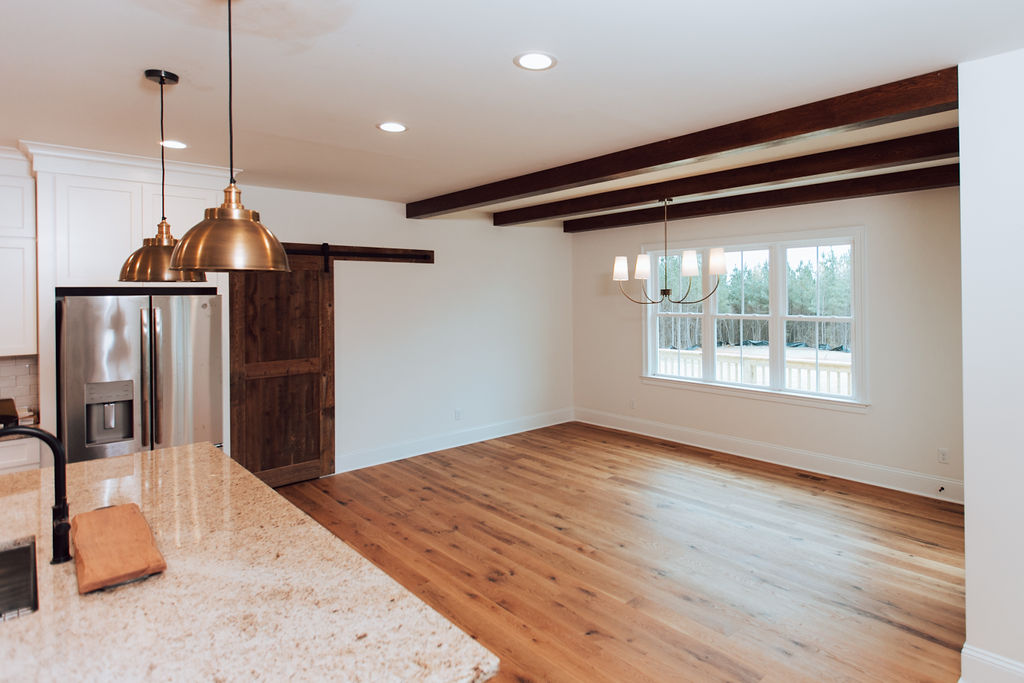
Install 101: How to Measure and Install a Box Beam
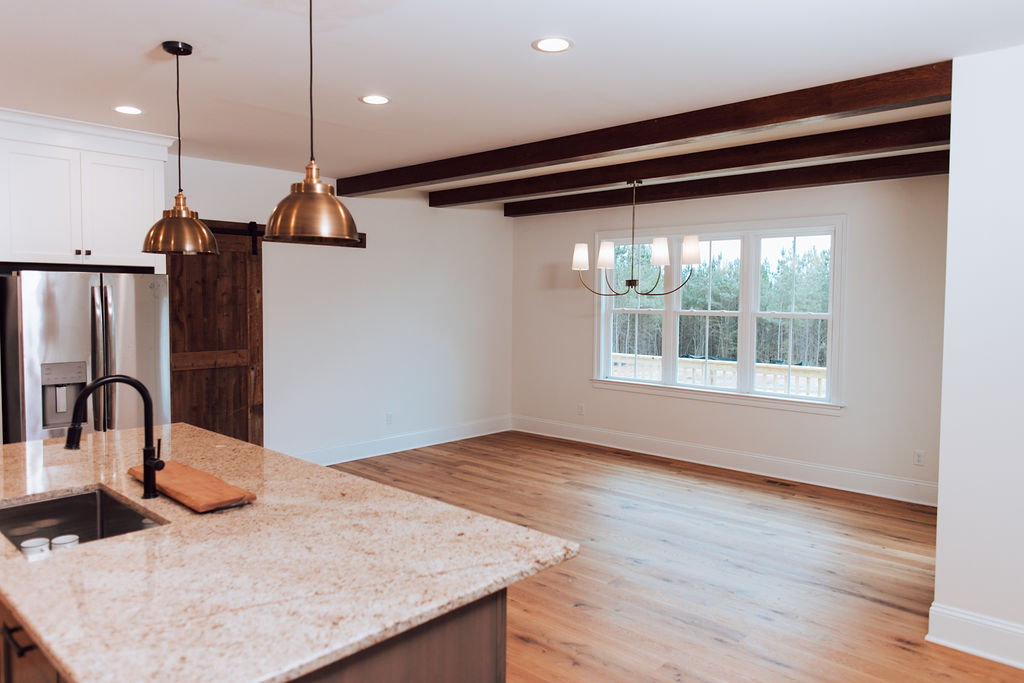
Whether you are going for a French Country vibe or a laid-back Modern Farmhouse look, adding box beams to any space can bring instant visual interest and character. The pros at Sawmill Designs take the hard work out of installing (and paying for!) solid beams with our budget-friendly, easy to install, and beautiful box beams. Here are some tips on creating a stress-free, cuss free install!
Here are some tools and materials you will need to install:
- Ladder
- Stud Finder
- Tape Measure
- 2 x 6 Lumber
- Miter Saw
- Framing Nailer
- Brad Nailer
- Brad Nails
- Air Compressor
- A friend to help you lift and install
Step 1: Determine the number of beams and placement
Measure out your space to determine how many beams your room needs. Something else that you should consider is the height of your room. More often than not, a lower ceiling height will look better with a shallower beam.
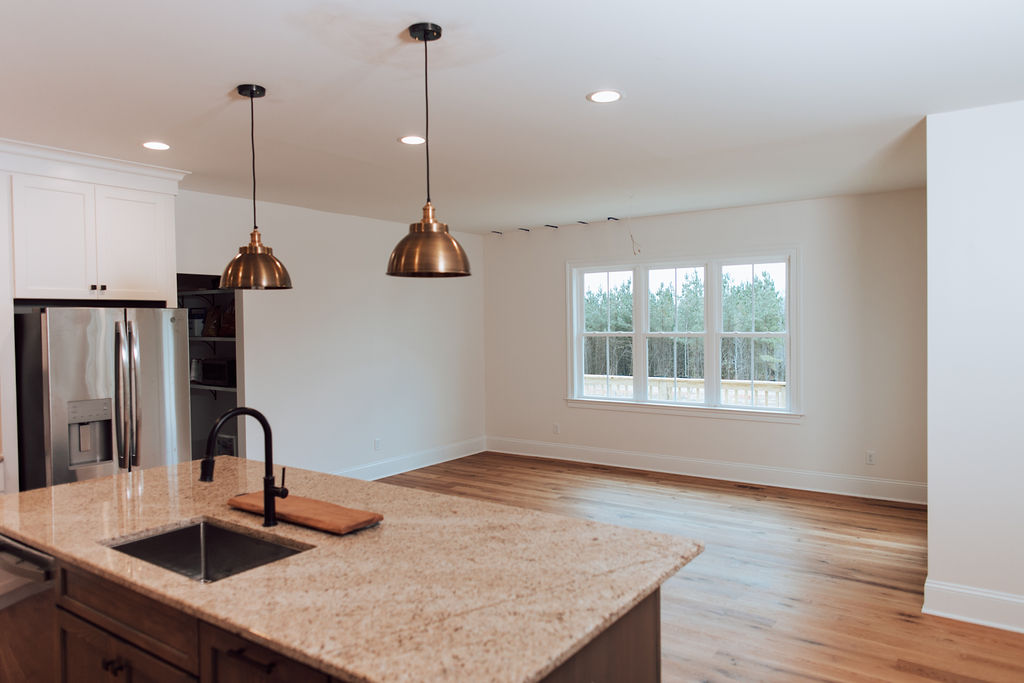
Step 2: Locate your ceiling joists
Use your stud finder to locate your first ceiling joists. After that the others should be relatively easy to find, as most ceiling joints are 16 or 24 inches apart.
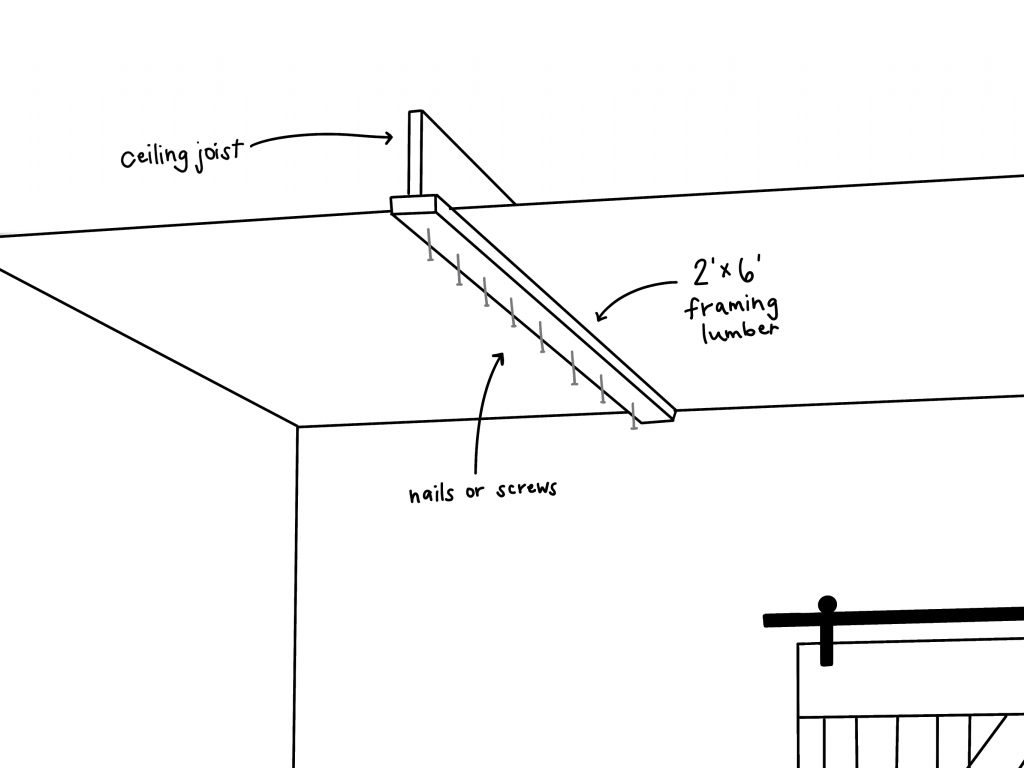
Step 3: Attach your 2 x 6’s
Measure the length of your room and cut your 2 x 6’s to fit the space using a miter saw. Then, attach your boards to the marked ceiling joists using a framing nail gun.
Step 4: Cut your box beam if needed
If you box beam needs to be cut to fit the space precisely, use the miter saw to cut. Sawmill provides all our prefinished box beam customers with a complimentary touch-up kit in case any nicks occur.
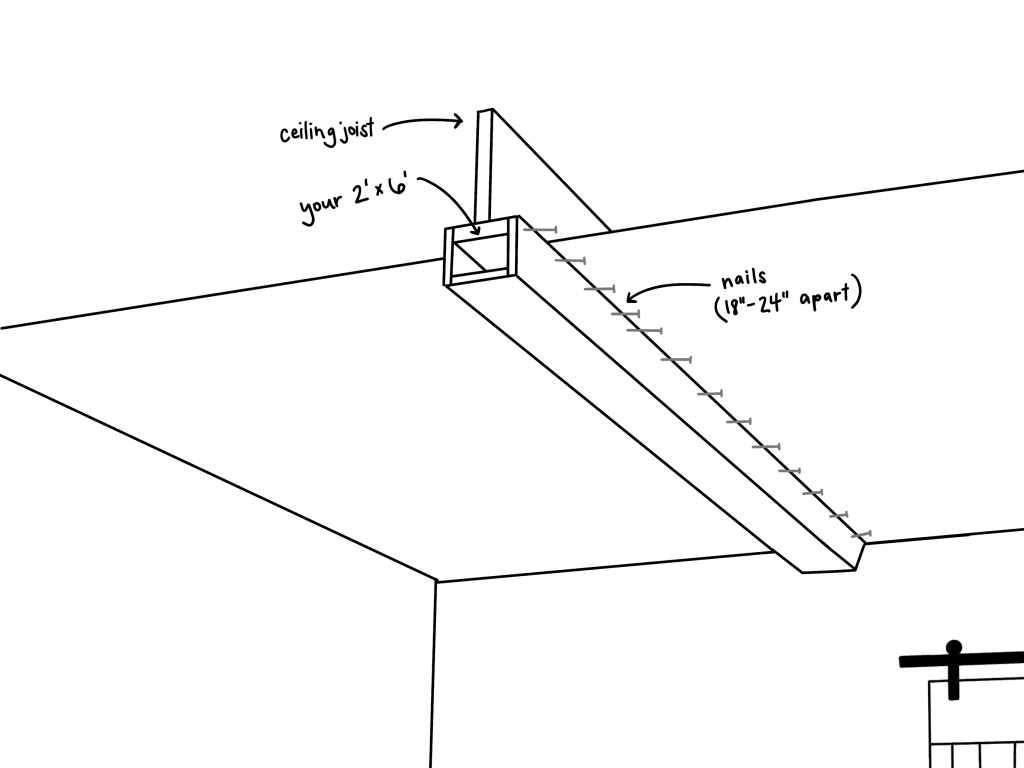
Step 5: Hang your box beams
This step requires a ladder and a friend to help lift. Carefully slide the box beam over the attached 2 x 6. Using the brad nailer, attach the beam to the 2 x 6 on both sides. You will need to nail the beam into the 2 x 6 every 18 – 24 inches. If noticeable, you can fill the holes with wood putty and then touch-up with our custom finish.
Thats it, you are done. Now stand back and admire your handiwork!
As always, we would love to see photos of your box beams installed and share them on social media. Send us a couple pics to [email protected].
Sawmill Designs Inc, a division of Cochran’s Lumber, is a family-owned and operated company that has been providing our clients with distinctive reclaimed and new wood products for over 40 years. From box beams to barn doors, and reclaimed barn siding each piece is handcrafted to meet the desire of each client.
