Solid Barn Siding Install 101
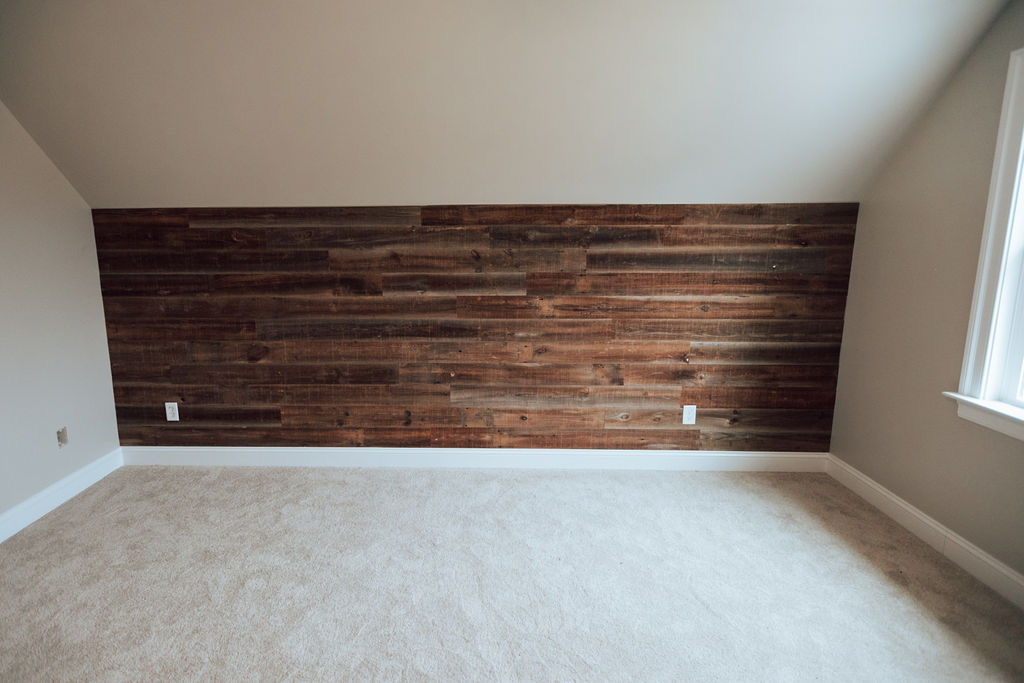
If you are still safe at home socially distancing, why not instantly transform an accent wall into a statement piece using our solid Reclaimed Barn Siding?
Our character-rich boards are easy to use, easy to lift, and easy to install. Here are a few helpful steps that will guarantee a stress-free home (or office) improvement project.
Here are some tools and materials that you will need:
- Trim puller or molding bar
- Screwdriver
- Stud Finder
- Miter saw
- Wood glue
- Finish nailer and nails (We recommend a 16-gauge pneumatic finish nailer)
- Tape measure and pencil
- Level
- A friend to help you install
Step 1: Prepare Your Surface
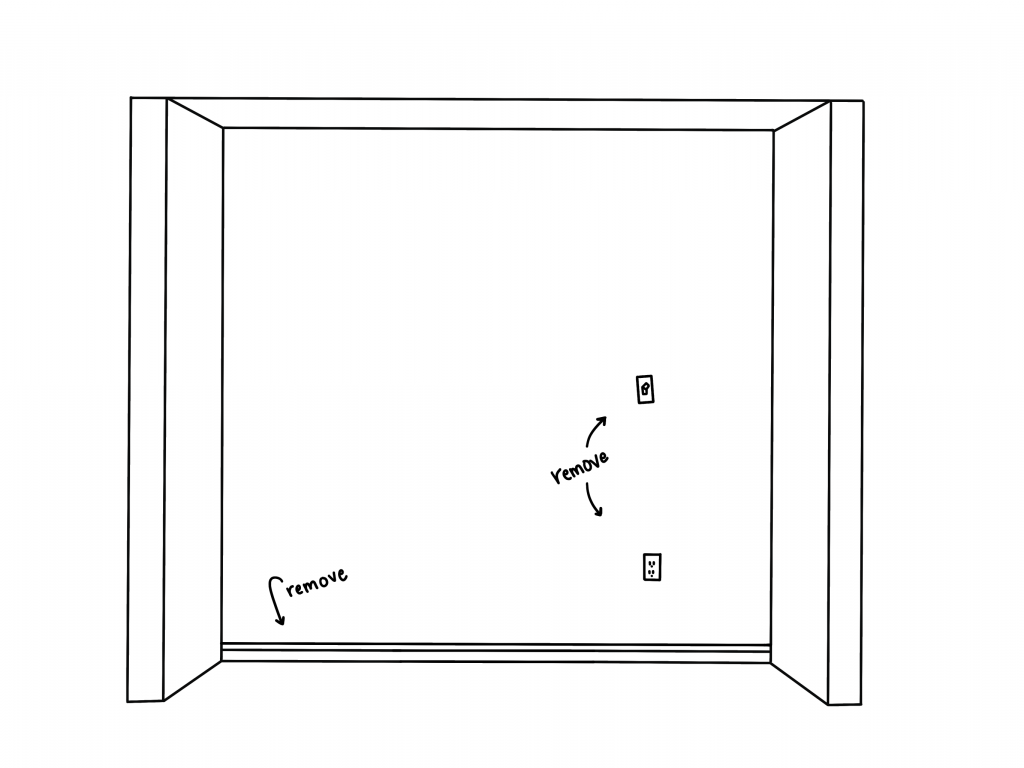
Once you have decided which wall you want to look awesome, start by removing any baseboard or crown molding using a trim puller or molding bar. Also remove any electrical outlets that are on the wall (you may need to purchase an outlet extender, they are relatively inexpensive.)

Step 2: Plan It Out
Lay your barn siding out onto either the floor or a table, and arrange how you would like to see it on the wall. Staggering seam and sizes creates the desired random look for your wall.
Step 3: Glue & Nail
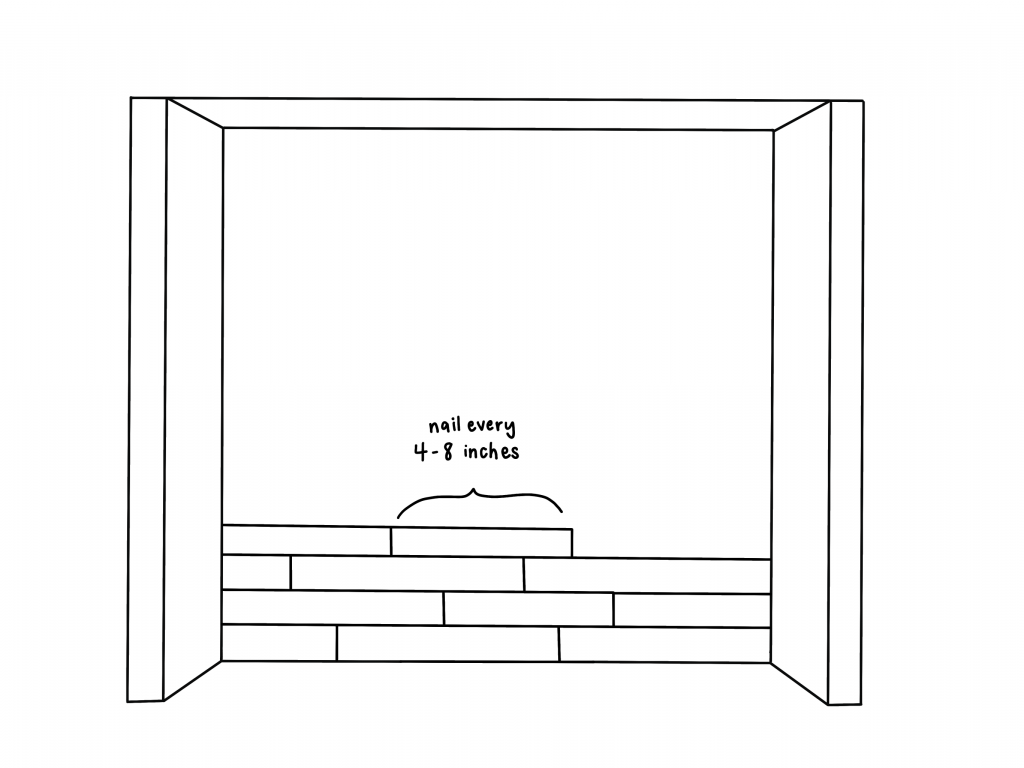
Starting in the bottom corner of your wall, apply wood glue to the back of the board and attach it to the wall. Then, taking your finish nailer, nail the board every 4-8 inches. Repeat to get your achieved look. As you finish your first row, you may need to break out the saw to fit the last piece onto the wall.

Step 4: Keep It Level
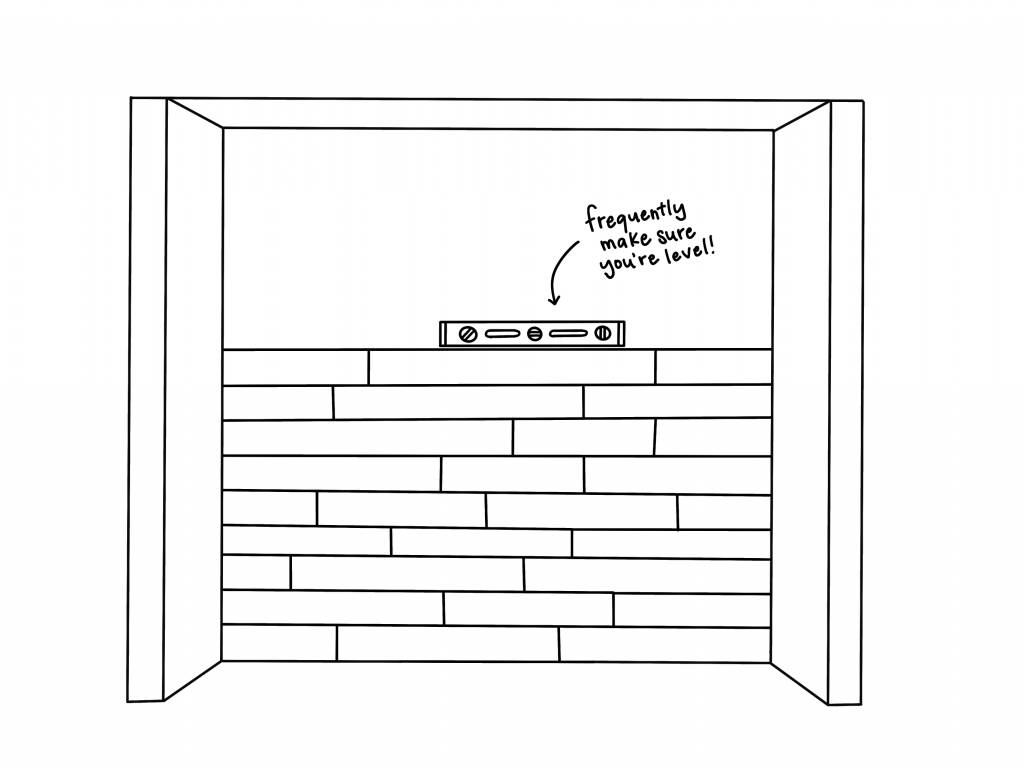
Check your levelness throughout your project to ensure even rows. Remember that these are authentically reclaimed boards, so you may need to slightly adjust your spacing in-between rows to compensate for slightly uneven boards or a slightly uneven wall)

Step 5: Finish Strong
When you are on your last row, measure the distance between your ceiling and the current row, taking into account that your ceiling may also be nominally uneven. Cut the width of the boards down to fit your last row.

Thats it, you are all done! Give yourself a pat on the back.
Seem like too much work and too many tools? Check out our veneer barn siding option. Same beautiful wood, without the need to glue or nail!
Sawmill Designs Inc, a division of Cochran’s Lumber, is a family-owned and operated company that has been providing our clients with distinctive reclaimed and new wood products for over 40 years. From box beams to barn doors, and reclaimed barn siding each piece is handcrafted to meet the desire of each client.
